If you have a leaking water heater, it can increase your utility bills, reduce efficiency, and cause water damage to your home. Fortunately, repairing this appliance is usually a pretty straightforward process, as long as you know a few things about diagnosis and repair. To that end, here are a few simple tips to help you to recognize and remedy a leak in your water heater.
Step One: Shut off the Power
If you suspect your water heater is leaking, disconnect the power first. If the heater is electric, switch the breaker that feeds it electricity to off. Disconnect it completely if possible.
If it is a gas run heater, cut off the gas to the unit. Locate the supply valve and turn it clockwise until it is firmly stopped. The stop position is achieved when the handle is perpendicular to the gas line.
Step 2: Shut off the Water
Once the power is disconnected, locate the cold water shut-off valve leading to the heater. If it is a gate valve, twist the handle clockwise until snug. If it is a ball valve, turn it 90 degrees until it is perpendicular to the pipe- like the gas valve.
Step 3: Locate the Leak
A leak can occur in several different areas. You must discover the location before you can fix it. The most common places for leaks are:
- the pressure valve
- inlet and outlet
- cold water shut off
- drain valve
- bottom of the tank
- heat element gaskets
- anode rod
Check each of these locations for the leak, keeping in mind that most leaks begin small, so they may be hard to detect. Also, keep in mind that new water heaters may leak due to condensation that can develop during storage.
Step 4: Repair the Leak
Repair procedures will differ, depending on the location of the leak. Here are several of the most common:
-
Leaky Pressure Valves
A leaky pressure valve is usually cracked and in need of replacement. They cost up to $15 and are not difficult to remove and replace. -
Inlet & Outlet Leaks
If these valves are corroded, cracked, or deformed, they should be replaced. Be sure the plumbing and power are disconnected first.
-
Cold Water Shut Off Valve Leaks
Wear and corrosion can make this part inoperative. Disconnect power and plumbing before replacing.
-
Drain Valve
Water dripping at the bottom of the tank is usually the fault of the drain valve. You can either clear it with water pressure or replace the part if needed.
-
Leak in the Bottom of Tank
If the wall of the tank is compromised at any point, the tank must be replaced. Call a professional for help.
-
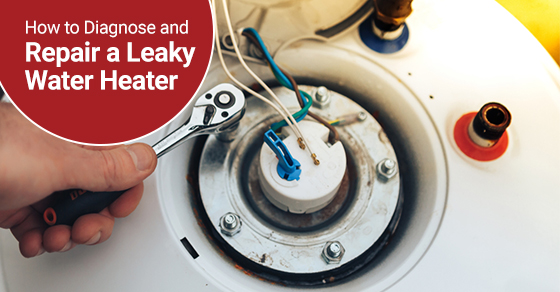
Heating Element Gaskets
These are hard to reach and will require a special wrench which can be found at most home improvement stores, although it is best left to a professional.
-
Anode Rod Damage
Anode rods should be in good condition to prolong the life of the appliance. Replace if any rust or corrosion is present.
To learn more, call Imagine Plumbing & Appliances Ltd. at (844) 397-2588 or contact us here.